Executive Summary
Retinol is widely considered the gold standard in non-prescription skincare, lauded for its ability to smooth skin texture, boost cell turnover, and even out tone. However, its potency means starting out can feel intimidating, often leading to temporary irritation, redness, or peeling if used incorrectly. This comprehensive beginner’s guide breaks down everything you need to know to introduce retinol safely into your routine. You will learn the crucial differences between retinoids, a step-by-step application schedule, percentage guidelines, and how to tell the difference between skin purging and a true reaction. By following a slow-and-steady approach, you can unlock the transformative benefits of retinol while keeping your skin barrier healthy, calm, and resilient.
How to Start Retinol Without Damaging Your Skin
Starting a new skincare active often feels like walking a tightrope between achieving visible results and causing unexpected irritation. If you’ve been curious about adding retinol to your evening regimen, you are certainly not alone—it remains one of the most thoroughly researched ingredients in modern dermatology. Yet, far too many beginners jump straight into high concentrations or nightly application, only to experience severe dryness, flaking, and discomfort.
The secret to long-term success with retinol isn’t intensity; it’s patience. When introduced correctly, retinol works behind the scenes to refine texture, clear congestion, and restore a healthy radiance. This guide walks you through the exact science, application methods, and starter schedules needed to build skin tolerance comfortably.
Retinol vs. Retinoid vs. Tretinoin: Decoding the Terminology
Before picking a product, it helps to understand the retinoid family tree. The word “retinoid” is the overarching umbrella term for all vitamin A derivatives used in skincare. However, not all retinoids work at the exact same speed or potency. Your skin can only directly use vitamin A in its purest form: retinoic acid. Any ingredient you apply must undergo a cellular conversion process to become retinoic acid before it can yield results.
- Tretinoin (Retinoic Acid): Prescription-strength retinoid. It requires zero conversion steps, making it immediate and highly potent, but also the most likely to cause initial skin peeling.
- Retinaldehyde (Retinal): An over-the-counter option requiring just one conversion step to become retinoic acid. It works faster than traditional retinol while remaining gentler than prescription forms.
- Retinol: The standard over-the-counter workhorse requiring two conversion steps (Retinol → Retinal → Retinoic Acid). It provides an ideal balance of efficacy and gentle tolerability for beginners.
- Granactive Retinoid / Retinyl Palmitate: Esters requiring three or more conversion steps. These are extremely mild, making them suitable for ultra-sensitive skin types, though results take significantly longer.
Understanding these conversion levels allows you to select an entry-level formula that respects your current skin tolerance.
The Beginner’s Percentage Guide: Where to Start
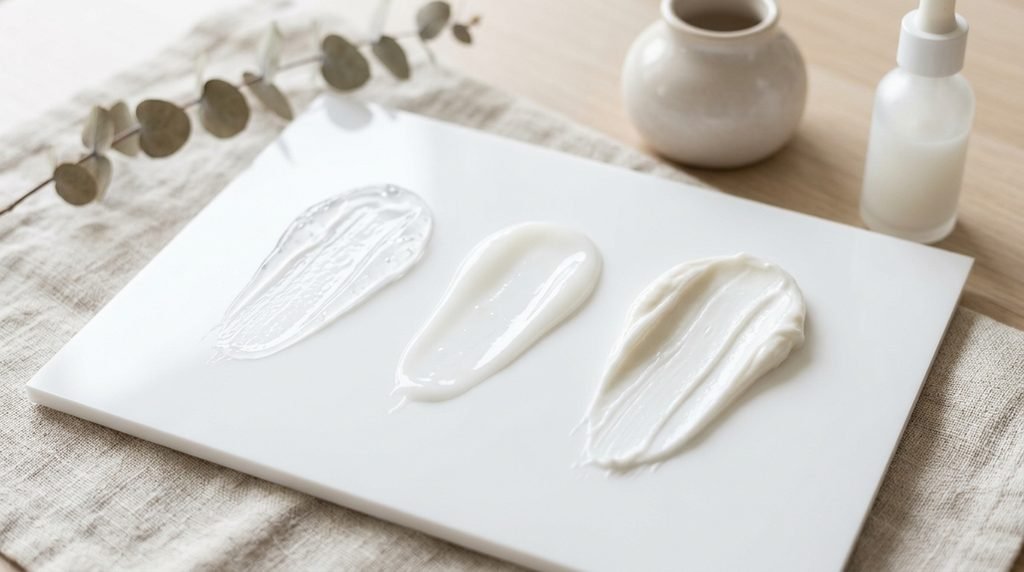
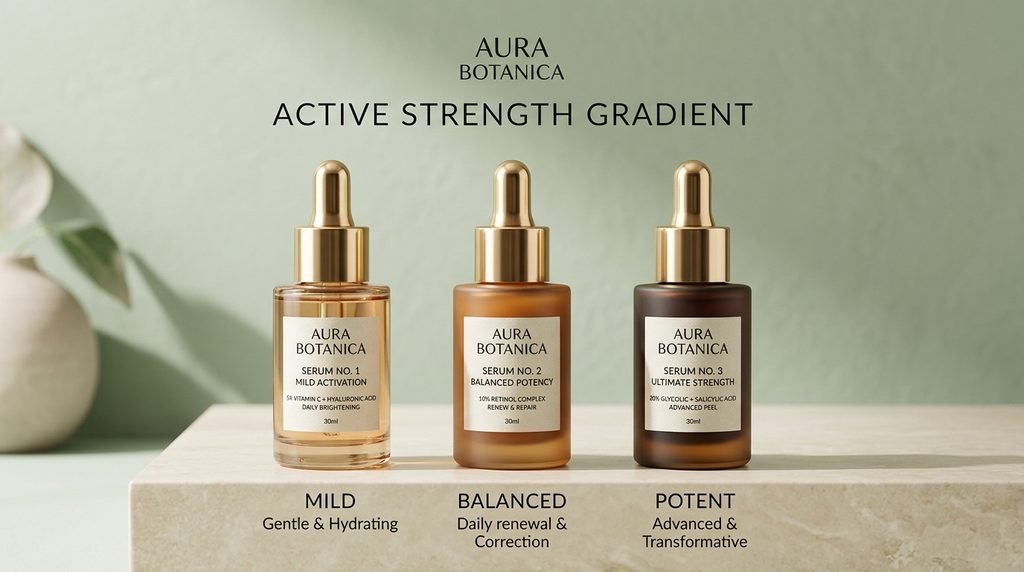
A common beginner mistake is assuming higher percentages yield better results. With vitamin A, higher percentages usually just yield more irritation. Starting low allows your skin cells to upregulate retinoid receptors gradually.
| Retinol Concentration | Skin Type / User Level | Expected Experience | Suggested Starting Frequency |
| 0.01% to 0.03% | Ultra-Sensitive, Reactive, or Rosacea-Prone | Minimal to no flaking; exceptionally gentle entry point. | 2 times per week |
| 0.1% to 0.25% | Standard Beginners, First-Time Users | Mild, manageable adjustment phase; ideal balanced starter. | 2 times per week |
| 0.5% | Intermediate Users (3+ months consistent use) | Increased cell renewal; for skin accustomed to lower doses. | 3 to 4 times per week |
| 1.0% | Advanced Users Only | High potency; noticeable transformation, higher irritation risk. | Nightly (if tolerated) |
Always complete at least one full bottle at a lower concentration before considering a step up in strength.
Step-by-Step: How to Apply Retinol Correctly
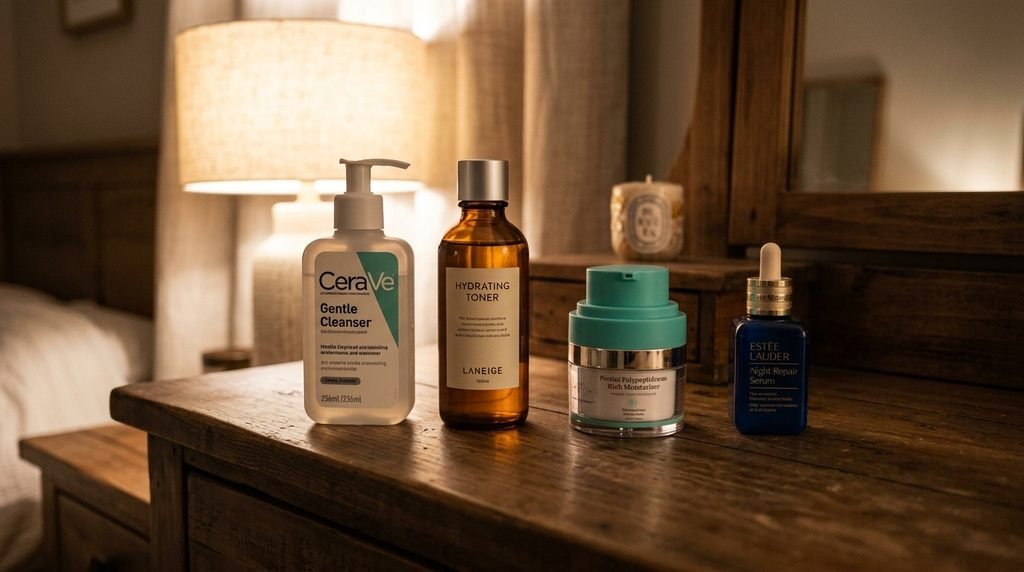
Proper application technique is just as crucial as choosing the right concentration. Applying retinol to damp skin, for instance, dramatically speeds up absorption and exponentially increases your risk of stinging and peeling.
- Cleanse Gently: Wash your face with a hydrating, non-stripping cleanser. Pat completely dry with a soft towel.
- Wait 5 to 10 Minutes: Ensure your skin is 100% dry. Bone-dry skin slows down active penetration, keeping irritation manageable.
- Dispense a Pea-Sized Amount: Use a single pea-sized drop for your entire face. Using more will not speed up your results; it only destabilizes your moisture barrier.
- Dab and Spread: Dot the product onto your forehead, cheeks, and chin, then smooth it evenly outward, avoiding the delicate eye area, corners of the nose, and lips.
- Moisturize: Follow up with a rich, barrier-repairing moisturizer packed with ceramides or hyaluronic acid to lock in hydration.
Pro Tip (The Sandwich Method): If your skin is prone to dryness, apply a thin layer of moisturizer first, wait 5 minutes, apply your pea-sized amount of retinol, and top it off with a second layer of moisturizer. This buffers the active without completely neutralizing its effectiveness.
For a deeper dive into balancing active ingredients alongside your restoration steps, explore our guide on How to Safely Layer Skincare Actives.
Retinol Purging vs. Breakout: How to Tell the Difference
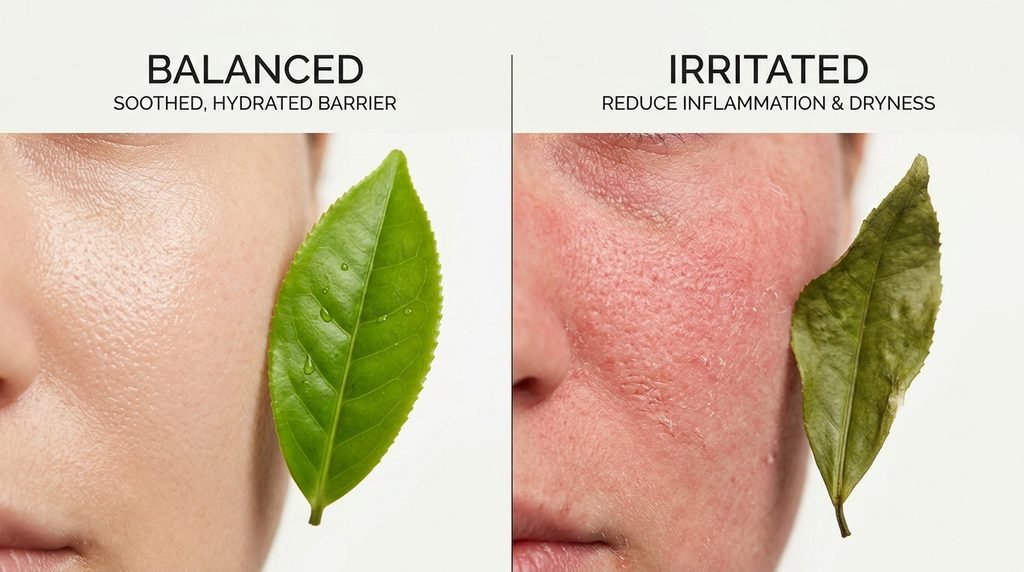
When you first start using retinol, it accelerates cellular turnover. This process speeds up the rate at which microcomedones (invisible clogs under the skin) are pushed to the surface. This temporarily surfacing congestion is known as “purging.”
Skin Purging (Normal Adjustment)
├── Location: Occurs ONLY where you normally break out
├── Duration: Short-lived (micro-pimples heal faster than usual)
└── Timeline: Resolves within 4 to 6 weeks

True Product Breakout / Reaction (Discontinue Use)
├── Location: Shows up in NEW areas where you rarely get spots
├── Texture: Red, inflamed, itchy bumps or intense burning
└── Timeline: Persists or worsens past 6 weeks
If you experience mild flaking or small surface spots in your usual trouble zones, your skin is likely purging. Stay the course, keep hydration high, and avoid adding any extra physical scrubs or exfoliating acids.
Smart Ingredient Combos (and What to Avoid)
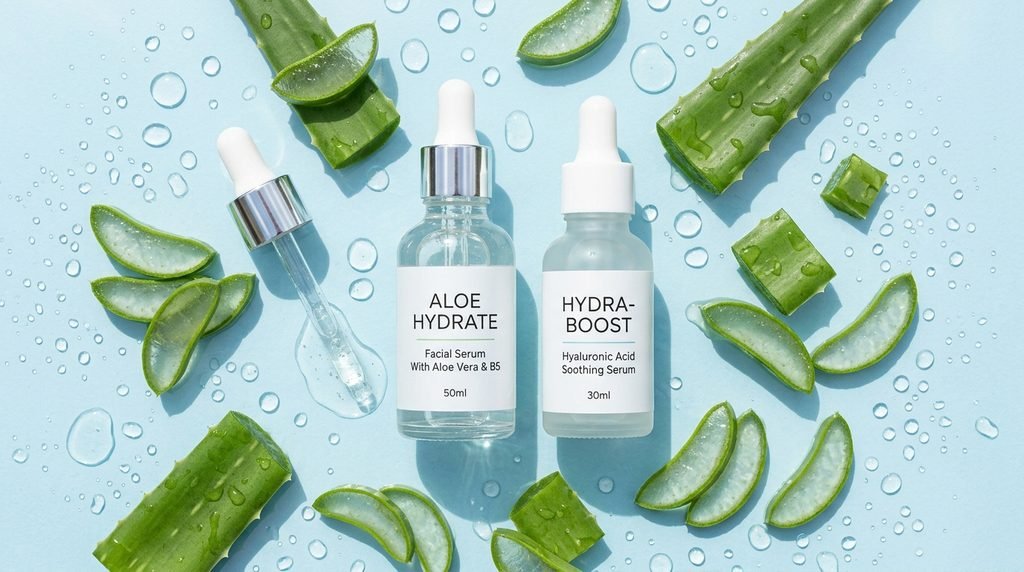
Building a cohesive routine around vitamin A requires balancing your other active serums to avoid overwhelming your barrier.
Great Pairing Choices
- Niacinamide: Calms inflammation, strengthens the skin barrier, and reduces the redness associated with early retinoid use.
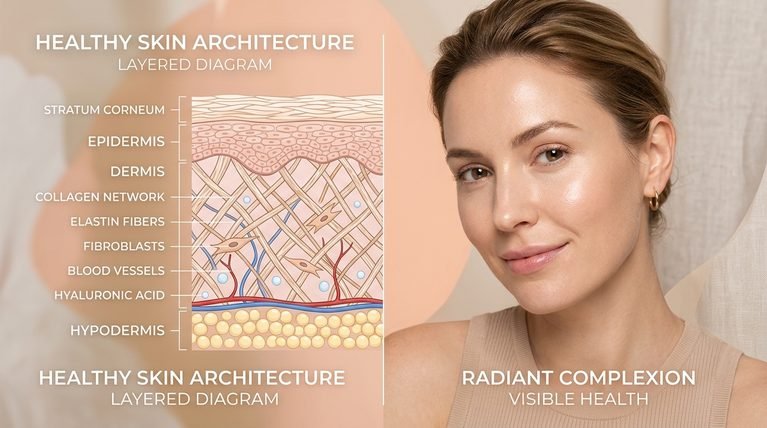
- Hyaluronic Acid & Ceramides: Replenishes lost moisture and binds hydration deep within the stratum corneum.
- Centella Asiatica (Cica): Soothes irritated tissue and speeds up recovery during the adjustment period.
Combinations to Avoid in the Same Routine
- Vitamin C (Ascorbic Acid): Both are potent actives operating at different pH levels. Use Vitamin C in your morning routine and save retinol strictly for night.
- Exfoliating Acids (AHAs/BHAs): Glycolic, lactic, and salicylic acids combined with retinol can severely strip your moisture barrier. Pause acid exfoliants for the first month of starting vitamin A.
To cross-check how other gentler botanicals compare to traditional vitamin A derivatives, refer to independent databases like the EWG Skin Deep Cosmetic Database for safety and formulation profiles.
Important Safety Note: Pregnancy and Sun Sensitivity
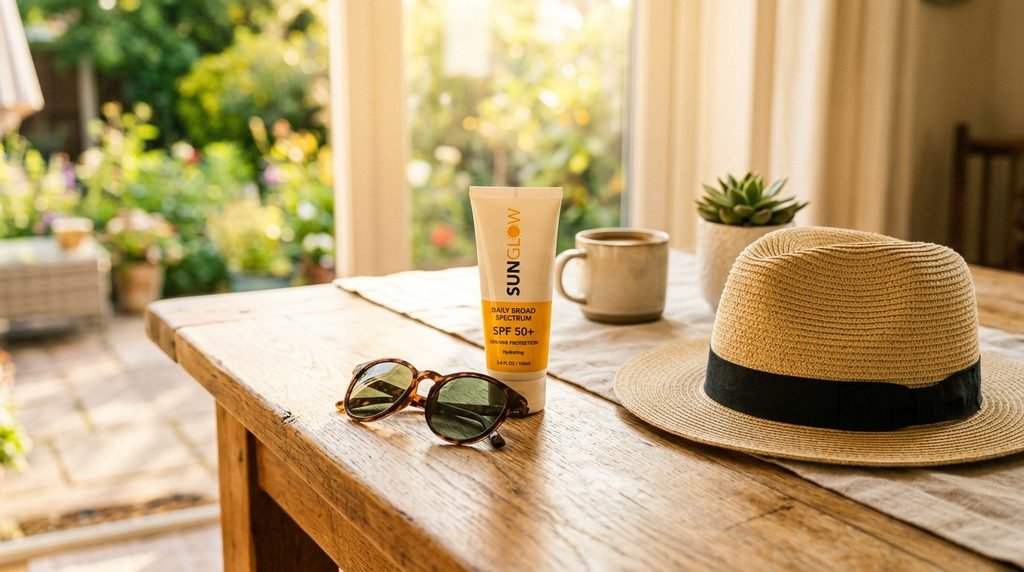
Retinol increases your skin’s susceptibility to UV damage because fresh, delicate cells are constantly being brought to the surface. Daily application of a broad-spectrum SPF 30 or higher is non-negotiable every single morning—even on cloudy days or when staying indoors near windows.
Additionally, prescription and over-the-counter vitamin A derivatives are strictly contraindicated during pregnancy and breastfeeding. If you are expecting or nursing, consult your physician or consider gentler, plant-based alternatives like bakuchiol.
Conclusion
Starting retinol doesn’t have to mean enduring damaged, peeling skin. By choosing a low percentage (0.01% to 0.1%), using a pea-sized application on completely dry skin, and spacing out treatments twice a week, you build a sustainable foundation for healthy skin renewal. Remember that visible skin transformation takes time—typically 8 to 12 weeks of consistent use. Honor your skin barrier, prioritize daily broad-spectrum sun protection, and let consistency do the heavy lifting.
Frequently Asked Questions
Q: How should beginners start using retinol?
A: Beginners should start by choosing a low concentration (0.01% to 0.1%) and applying a pea-sized amount just two nights a week on clean, completely dry skin. Follow immediately with a hydrating moisturizer. Slowly increase frequency over several weeks only after your skin shows full tolerance without redness or peeling.
Q: What is the 1-2-3 rule of retinol application?
A: The 1-2-3 rule is a popular starter schedule: apply retinol 1 night per week for the 1st month, 2 nights per week for the 2nd month, and 3 nights per week for the 3rd month. This gradual progression gives your skin receptors adequate time to adapt safely without triggering severe irritation or moisture barrier damage.
Q: How do I use retinol correctly as a beginner?
A: Always apply retinol at night on thoroughly dry skin after cleansing. Limit your application to a pea-sized amount for the entire face, carefully avoiding the corners of your eyes, nose, and lips. Always finish with a rich moisturizer and apply broad-spectrum sunscreen every morning to protect fresh skin cells.
Q: What is the dark side of retinol?
A: The “dark side” refers to the temporary side effects known as retinization—including peeling, redness, dryness, burning, and skin purging. These issues occur when users start with too high a concentration, apply product too frequently, or skip daily sun protection, which damages the skin’s protective moisture barrier.
Q: Can I use retinol and niacinamide together?
A: Yes, niacinamide pairs exceptionally well with retinol. Niacinamide helps soothe skin, strengthens the natural moisture barrier, and reduces the redness or tightness often experienced during the initial adjustment phase. You can apply a niacinamide serum right before your retinol layer.
Q: How long does retinol purging usually last?
A: Retinol purging typically lasts between 4 to 6 weeks as your skin’s cell turnover speeds up. If you experience new pimples, rash-like bumps, or severe irritation that persists beyond 6 weeks or appears in areas where you rarely break out, stop using the product and consult a dermatologist.